How to repair a toilet flush handle (4 fixes)
Loose, broken, or jiggle-required toilet handle? Diagnose the 4 failure modes and fix yours in 5 minutes with tools under $25. San Diego guide.
The short answer
- Almost every toilet handle problem is loose, broken, won't flush, or needs a jiggle; each has a 5-minute DIY fix.
- Total tool cost is under $25, and a replacement handle runs $8 to $20 at any San Diego hardware store.
- The mounting nut is reverse-threaded; tighten it counter-clockwise and only a quarter-turn so you don't crack the tank.
- If a jiggle is needed to stop running, shorten the chain to about a half-inch of slack or swap the worn handle.
- Call a plumber if the nut is corroded solid, the tank is cracked, or it still won't flush after a new handle, chain, and flapper; reach us at (858) 925-5546.
Loose, broken, won’t flush, takes a jiggle. Almost every toilet handle problem falls into one of those four buckets. Each one has a 5-minute fix, and you don’t need a plumber for any of them unless something else breaks while you work.
This guide walks you through diagnosing which failure you have, then fixing it with parts you can grab at any San Diego hardware store this afternoon. We’ll cover the one mistake that trips up most people (the reverse-thread mounting nut), how to pick a replacement handle that actually fits, and when the handle isn’t really the problem.
Tools you need (under $25 total)
You probably already own most of this. Here’s the short list.
- Adjustable wrench or 1-inch open-end wrench (~$10)
- Channel-lock pliers, just in case the nut is corroded ($8 at Harbor Freight)
- Replacement handle if yours is broken ($8 to $20 depending on style)
- A sponge or old towel to dry the inside of the tank
- Hacksaw blade, only if the mounting nut has corroded solid (under $5)
For the replacement handle, Home Depot at Morena, Mira Mesa, and El Cajon all stock the Korky, Fluidmaster, and Danco universal handles. Ferguson on Convoy and Plumbing Wholesale Outlet on Miramar Road carry OEM handles for Toto, American Standard, and Kohler if you want a perfect color match.
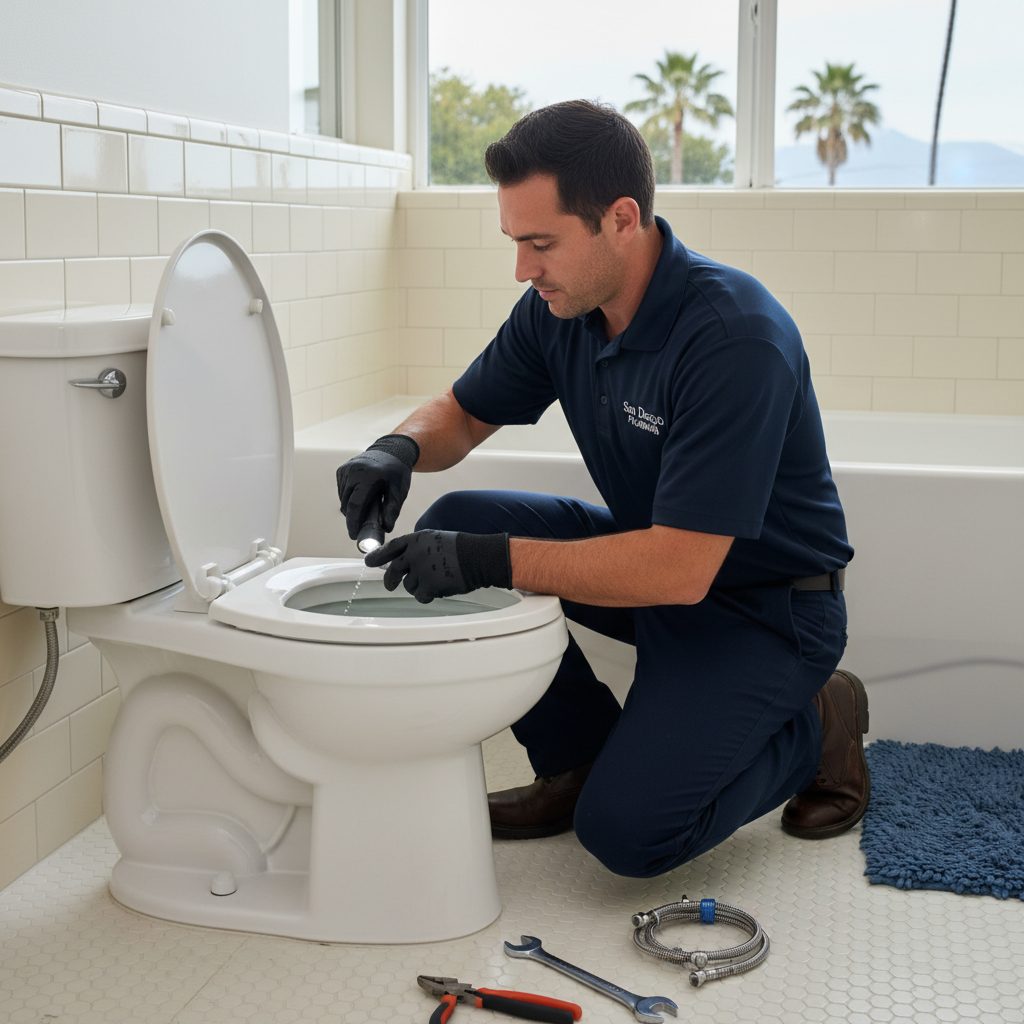
Step 1: diagnose which failure you have
Take the tank lid off and set it on a folded towel on the floor so it doesn’t crack. Now look at the handle while you push it.
Loose mounting nut. The handle wobbles or spins freely without lifting the lever arm inside the tank. You’ll see the brass nut behind the handle is backed off. This is the most common failure. Fix time: 2 minutes.
Broken plastic lever arm. The handle moves but nothing happens inside. Look at the arm. If it’s cracked, snapped at the bend, or completely separated from the chain, you need a new handle. Fix time: 10 minutes.
Snapped or tangled chain. Handle moves, lever arm moves, but the flapper at the bottom of the tank doesn’t lift. The chain is either broken, unhooked, or so tangled it can’t pull. Fix time: 3 minutes.
Corroded shaft (the jiggle). Handle works but only if you wiggle it just right. The metal shaft has built up calcium or rust and the chain hangs at the wrong angle. San Diego water is hard, so this one’s common here. Fix time: 5 minutes, but usually means it’s time to swap the whole handle.
Pick your fix below.
How to fix a loose flush handle
This is the easy one. The mounting nut inside the tank has worked itself loose over years of flushing.
Reach inside the tank and find the big brass or plastic nut on the back side of the handle. Hold the handle steady on the outside. Now here’s the part that catches people.
The mounting nut is reverse-threaded. That means you tighten it by turning counter-clockwise, not the usual clockwise. Lefty-tighty, righty-loosey. Toilet manufacturers do this so the act of pushing the handle down doesn’t unscrew the nut over time.
This trips up almost everyone, especially on left-mounted tanks where the angle feels weird. If you try to turn it the normal way and it loosens more, stop and reverse direction.
Snug it up with your fingers first, then a quarter-turn with the wrench. Don’t crank it. The nut is brass or plastic and over-tightening cracks the tank around the hole. If your tank cracks, you’re buying a new toilet.
Flush to test. If the handle is firm and the flush is strong, you’re done.
How to replace a broken flush handle
When the lever arm is snapped or the metal shaft is corroded through, swap the whole assembly.
Picking the right replacement. Handles come in four flavors.
- Universal front-mount. Fits most standard toilets where the handle sits on the front of the tank. Korky 6000BP, around $8.
- Side-mount. For toilets with the handle on the left or right side. Look at where yours mounts before you buy.
- Dual-flush. Two-button setup on newer water-saving toilets. These are brand-specific most of the time. Bring a photo to the store.
- OEM color-matched. If you have a bone, biscuit, or almond toilet and you want it to match, go to Ferguson or Plumbing Wholesale Outlet with the toilet brand and model number (printed under the tank lid).
Removing the old handle. Unhook the chain from the lever arm. Hold the handle outside and unscrew the mounting nut inside (remember, counter-clockwise to loosen, since it’s reverse-threaded). Pull the handle out through the front of the tank.
If the nut is corroded solid and won’t move, slip a hacksaw blade between the nut and the tank wall and cut through the nut. Wrap the blade ends in a rag so you don’t slice your hand. Takes 2 minutes.
Installing the new handle. Slide the new handle through the hole. Thread the nut on by hand (counter-clockwise to tighten, again). Snug with a wrench, but stop the second it grips. Don’t muscle it.
Hooking the chain. Attach the chain to the lever arm. Most lever arms have three or four holes. Use the hole that gives the chain about a half-inch of slack when the handle is at rest. Too tight and the flapper won’t seal. Too loose and the handle won’t lift the flapper enough.
Test-flush a few times. Adjust the chain hole up or down if the flush feels weak.
How to fix the chain (the most overlooked cause)
If the handle moves fine and the lever arm moves fine but the flush is weak or nothing happens, the chain is the problem nine times out of ten.
Too tight. The flapper can’t seat all the way down between flushes, so the tank keeps running. Move the chain to a hole farther out on the lever arm.
Too loose. The lever arm runs out of travel before lifting the flapper. Move the chain to a hole closer in, or shorten the chain by clipping the hook a few links higher.
Snagged or kinked. The chain catches on the overflow tube or on the flapper itself. Straighten it out and route it cleanly straight up from the flapper to the lever arm.
Hooked wrong. Some chains use an S-hook, some use a clip. Make sure it’s seated through the hole, not just resting on top. A loose hook will pop free mid-flush.
The chain should have about a half-inch of slack when the handle is at rest. That’s the sweet spot.
When it’s not the handle: the flapper or fill valve
If you’ve replaced the handle and the chain is set right but the toilet still runs, jiggles, or won’t flush strong, the handle was never the real problem. You’ve got a flapper or fill-valve issue.
Quick test. Add a few drops of food coloring to the tank water. Wait 20 minutes without flushing. If color shows up in the bowl, your flapper isn’t sealing and needs replacing ($5 at any hardware store, 10 minutes to swap). If the water keeps running into the overflow tube, the fill valve is set too high or worn out.
We covered both of those in our guide on what to do when your toilet keeps running. Run through that next if the handle fix didn’t solve it.
If you’re getting weak flushes with a perfectly working handle, the bowl could be partially clogged. Our how to unclog a toilet walkthrough handles that.
FAQ
Why does my toilet handle stick when I push it?
The metal shaft inside the tank has built up calcium from San Diego’s hard water, or the plastic lever arm is binding against the tank wall. A quick clean with vinegar can buy you a few months, but the long-term fix is a new handle.
Why does my toilet require a jiggle to stop running?
The chain is too long and getting caught under the flapper. Either shorten the chain by a couple of links or move the chain hook to a tighter hole on the lever arm. If that doesn’t fix it, the flapper is warped and needs replacing.
Are all toilet handles universal?
Most standard front-mount handles are interchangeable. Side-mount and dual-flush handles are not. Bring a photo of your current setup to the store, or pull the old one out first and match it.
Can I use any chain length?
Yes, most replacement handles come with a chain that’s longer than you need. You shorten it by hooking a higher link onto the lever arm. Aim for about a half-inch of slack when the handle is at rest.
When should I call a plumber instead?
Call if the mounting nut is so corroded you can’t cut it without risking the tank, if the tank itself is cracked, if you’ve replaced the handle, chain, and flapper and the toilet still won’t flush right, or if the tank rocks on the floor (that’s a separate, bigger issue involving the wax ring).
If something goes sideways
Most handle repairs are fast and forgiving. But if you snap the mounting nut and can’t get it off, or if the porcelain cracks while you work, stop and call us for toilet repair at (858) 925-5546. Same-day service across San Diego County. A $15 part isn’t worth a $400 new toilet.
We also handle the cases where the handle isn’t really the problem. See our pricing breakdown on toilet repair cost in San Diego or the broader plumber cost guide to know what to expect before you call anyone.
Need a Plumber in San Diego?
Licensed, insured, and available 24/7 across San Diego County. Upfront pricing, no surprises.
Call (858) 925-5546Available 24/7, no voicemail, no answering service